

Tips to Achieve a Flawless & Natural-looking Self Tan
Tanning season is here. But why wait till you soak up under the sun to attain that glowing and gorgeous color now, if you can hit the beach ready to grab everyone’s attention? Here is your ultimate guide to getting the perfect color.
1 || Leave It As The Final Step
Get a wax or a manicure, touch up your hair color, or shave your legs before applying your self-tanner. These treatments can cause your tan to fade away.
2 || Exfoliate
To ensure even application, it is so important to exfoliate your body from head to toe before starting your tanning process. It is crucial to apply your tan on dry skin (without any product residue), but if your skin is dry, the tanner may accumulate in some areas, resulting in dark patches that look unnatural. Therefore, it is necessary to eliminate any dead skin beforehand.
Scrub with an oil-free product that contains both physical exfoliants and salicylic acid to prep your skin. Oils can form a barrier on the skin and cause uneven self-tan development.
3 || Spot Moisturize
We know we said that your skin needs to be dry. So yes, after showering and toweling off you need to wait at least 10 minutes or till your body is completely dry before applying your self-tan as water can remove and dilute the tan causing dreaded streaks and patches.
Nevertheless, it is still essential to moisturize thicker or drier areas to avoid excess tanning as these areas tend to soak up more tanner. Apply a lightweight lotion to areas such as elbows, ankles, tops of toes, and knees. Dabbing will help distribute the lotion evenly and prevent streaks. This will also help prevent tanned palms which can look ridiculous.
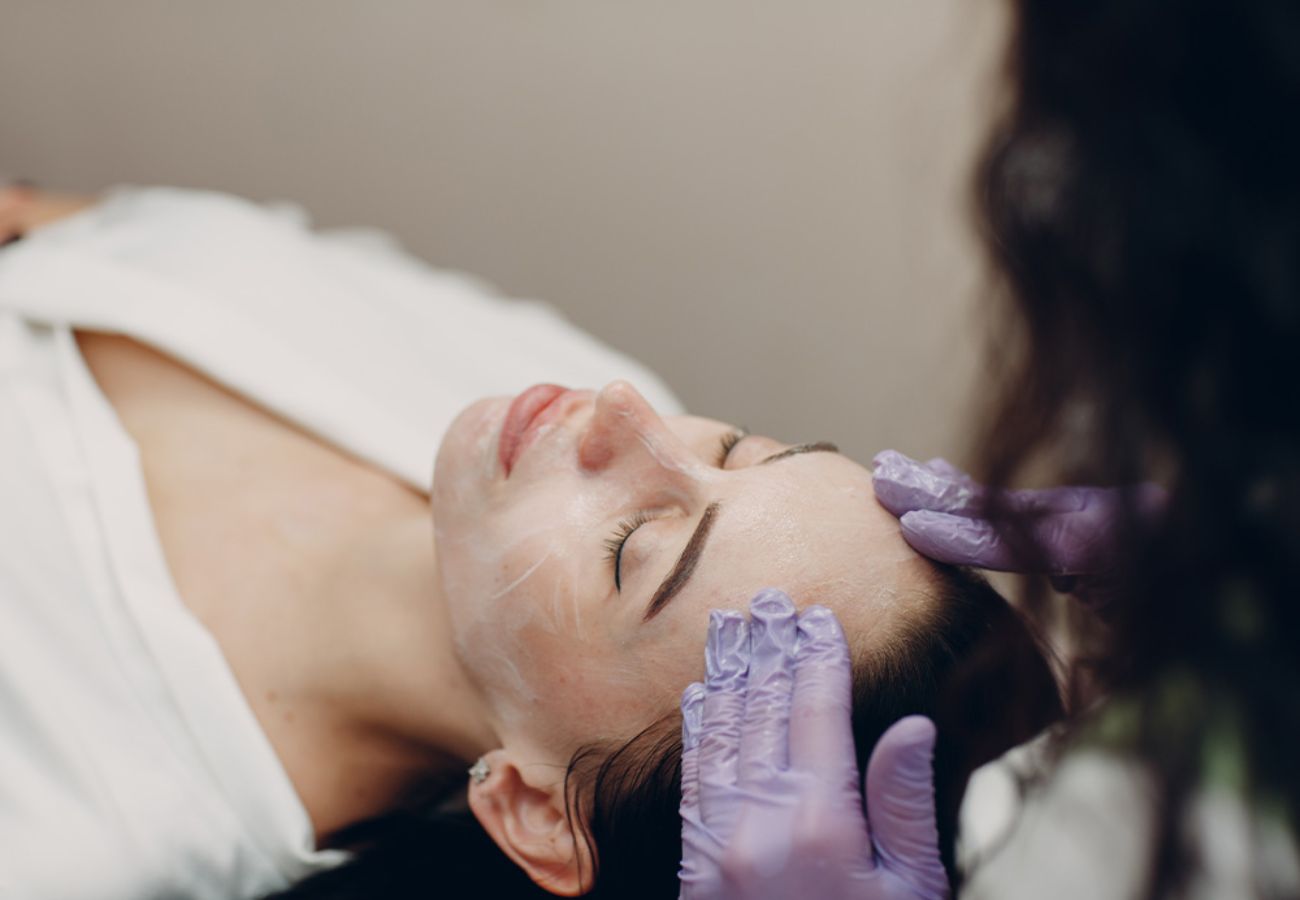
4 || Face First
Using your bare hands, apply self-tan to your face then wash them right after. Make sure to tan everywhere, under the eyes, over the eyelids, on the tips of the ears, on the neck, and even around the back of the ears, which can be seen when long hair is tied back. If you are thinking of applying your tan only on the highest points of your face, please DON’T.
If the idea of tanning your face fully is a bit intimidating, consider using a formula designed to be mixed with moisturizer for a more gradual effect. This method allows for more control over the level of color and reduces the risk of ending up with an overly tanned face.
5 || Start At The Feet
It is recommended to start off from the ankle up, skim over the knee, then use the excess self-tanner on the feet. Move up to the thighs and bottom, lower back, stomach, breast area, and décolletage, blending onto the neck or where you finished tanning the face. Then tan your back, shoulders, back of the neck, down the sides of the torso reaching to your underarms, and end up with your arms stopping at the wrist area. Blend the remaining product on the mitt from your wrist down to your hand, making sure to blend between your fingers and down each side.
6 || Tan Only Where You Want
If you aren’t hitting the beach soon, you can tan the areas you want to show. It is also an option 😉
7 || Wipe Any Excess Product
Mistakes happen. So don’t panic if anything happened while applying your tan. Keep wipes in hand for quick clean-ups.
Depending on the severity of the mistake, it can be fixed even after showering. For dark patches, use an exfoliating mitt or a damp towel in circular motions on wet skin. For light patches, exfoliate the entire area and use an exfoliating mitt or a damp towel to even out the area before reapplying.
8 || Go On With Your Life
You shouldn’t shower for at least eight hours after applying your self-tan, so it doesn’t make sense to pause your life. Wear a dark-colored dress or shorts and a T-shirt and go on with your business.