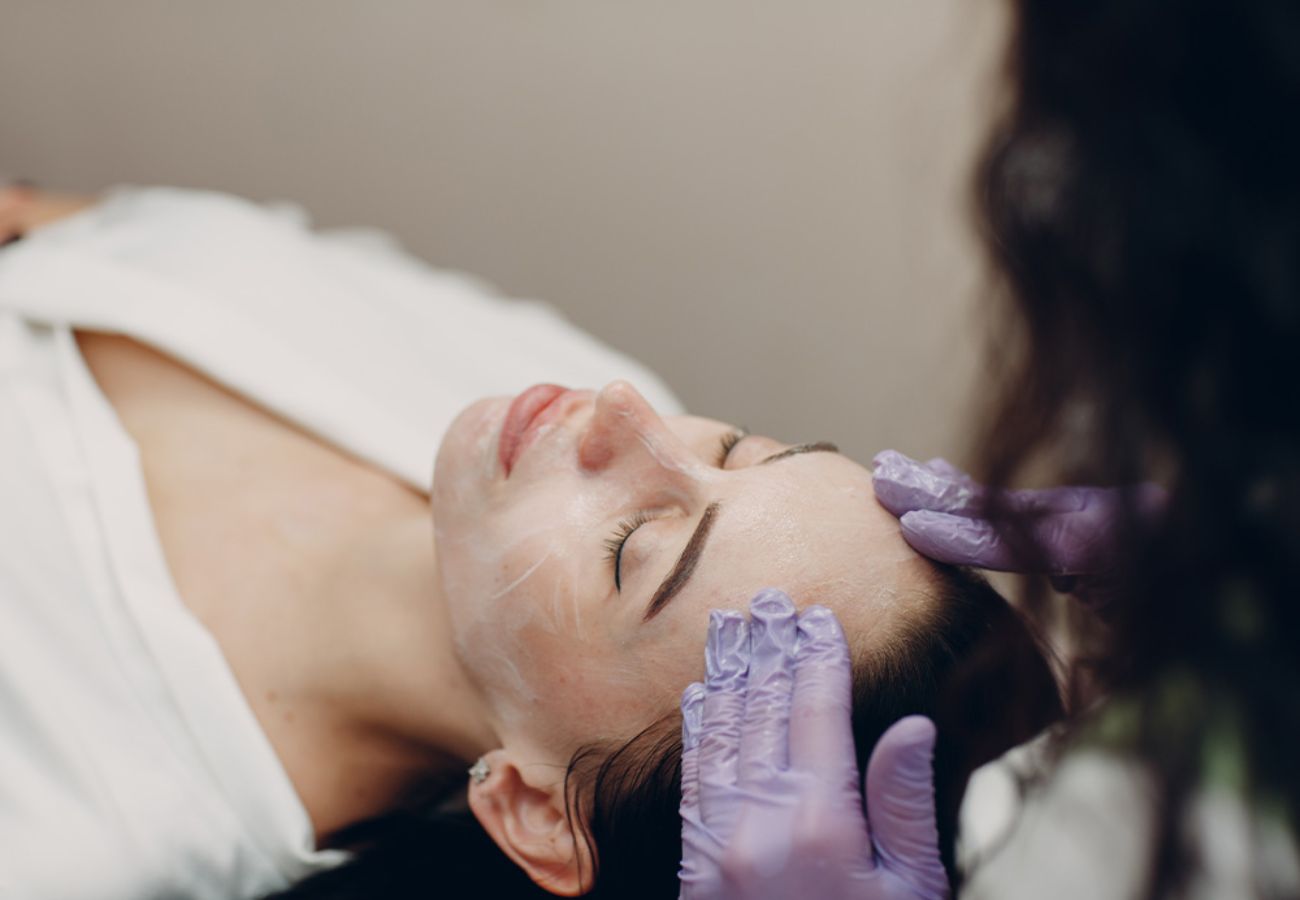


Your Ultimate Guide To At-Home Facials
Sometimes we learn things the hard way… COVID-19 has taught us to do a lot of things on our own which is kinda cool you know. For example, we used to think that we can’t pamper our skin with great facial unless we go to that fancy clinic or spa and pay a large amount of money. But you know what, it turned out you can bring the spa to your home and pamper yourself without having to waste so much time and money. Prepare your skin for Eid by giving it a spa-level facial but from the comfort of your home this time.
1 || Double Cleanse
This is the key for glowing skin you get after a facial. It’s recommended to use an oil-based cleanser first to melt away all the makeup, skincare products and dirt, then follow with a foaming (keep pores cleaner) or cream (gentle for sensitive skin) cleanser based on your skin type. If you only have oil-based cleanser then go ahead and use it for both steps.
2 || Don’t Forget To Exfoliate
Exfoliation helps remove dead skin cells from the surface of your skin allowing it to better absorb other products. There are two types of exfoliators; physical and chemical exfoliators. And while usually it is enough to use one that suits your skin type sometimes it is recommended to use chemical exfoliator first, followed by a physical scrub. If your skin is oily you can go away with exfoliating 4-5 times a week, with drier skin exfoliating once a week should be enough.
3 || Do You Have A Facial Steamer?
If you have an at-home steamer, then now is the time to use it. Otherwise you can DIY your steamer the old way by filling a bowl with hot water and position your face over the bowl with a towel over your head to let your skin ‘open up’, stay there for 5-10 minutes then pat dry your face for the next step. Steaming heats up the internal of your skin making extractions easier to perform, increases blood flow to the skin and allows it to better absorb the products you are about to apply.
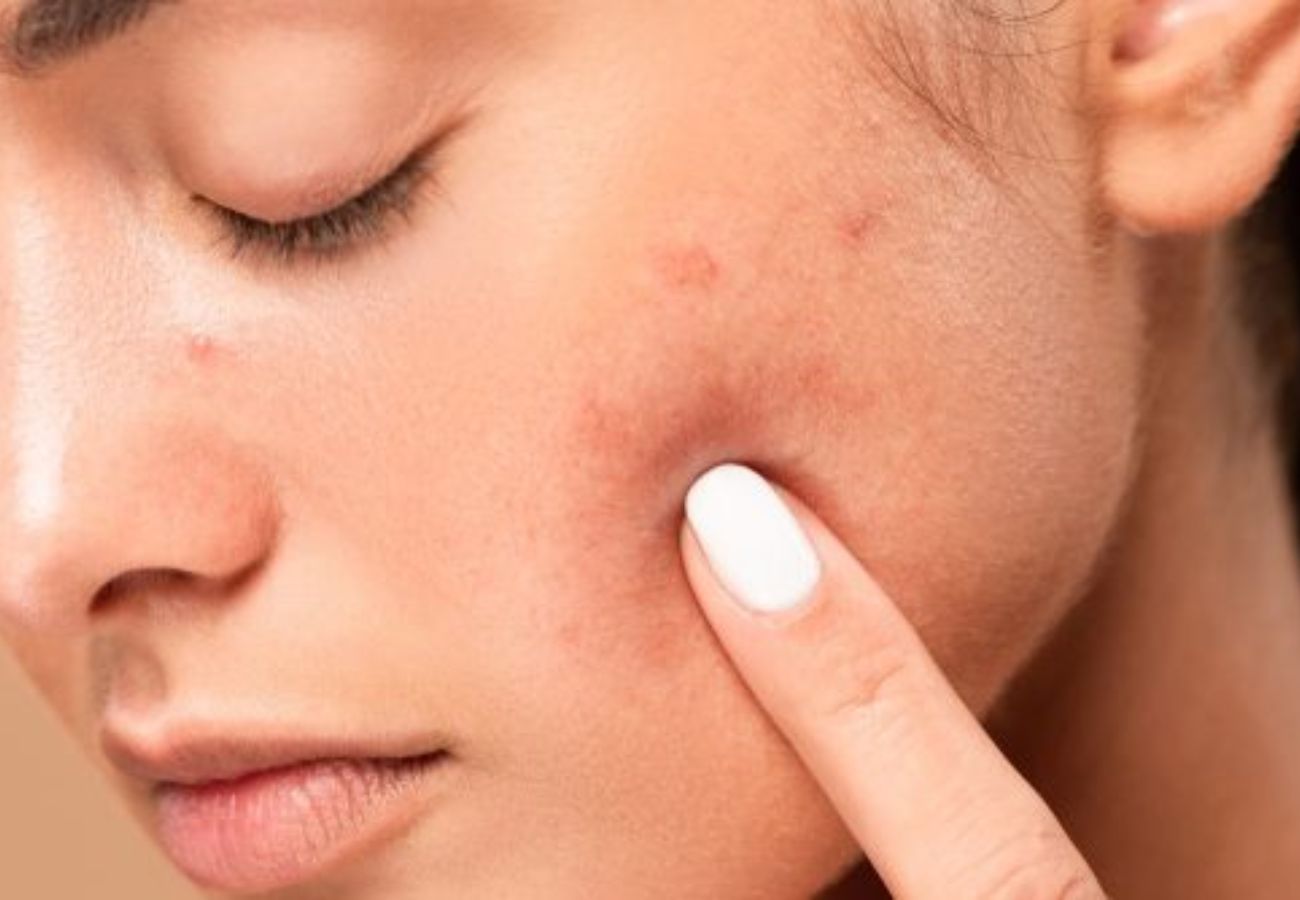
4 || Extract
This step is tricky, so if you decided to extract your own blackheads you should do it correctly to prevent any damage. If you are using an extractor too, follow their instructions. If you are using your hands, wash them thoroughly then wrap your fingers with a tissue paper, place your fingers around the comedo, and squeeze once. Change your positioning to prevent inflammation. And if the blackhead won\’t come out, move on. Lastly, dab with a topical acne treatment.
5 || Mask
There are plenty of mask kinds out there such as gel, sheet masks, clay and cream. Gel masks are cooling and calming and they are suitable for all skin types. If you have oily skin then clay masks are for you. They help draw out impurities from the skin and open clogged pores. Look for a hydrating mask infused with ingredients that are nourishing for the skin. Cream masks are great for dry skin that need more lipids, oils, and nourishing components. Finally, sheet masks are infused with water-based hydration so they work great on dry skin.
Of course, you can always make your mask at home. No matter what face mask you use, make sure to leave it for 10-20 minutes then remove with a damp washcloth.
6 || Treat
This means serums. Serums are infused with actives that target specific skin concerns such as wrinkles, acne, and pigmentation. Go for vitamin C serum if you want to reduce pigmentation. If you have winkles, retinol serum must be good for you. For dry, red, or flaky skin, try a serum with peptides and niacinamide.
7 || Moisture & Massage
Actually, you need to massage-apply all the above products not only your moisturizer. After you apply all your products, give yourself a facial massage using your hands or your Gua Sha to help penetrate products, reduce puffiness, sculpt the face, boost circulation and lymphatic drainage, and relax facial muscles.